
How a device is recognized in the mce Retail application?
To recognize a device, launch mce Retail application and ensure you are on the Home screen, verify the
device is not PIN locked and has passed the setup screens. Now, using a standard OEM or mce provided
cable, connect the device to the cable and then the cable to the Target port of the mce Box (USB hub).
It is extrimly important to verify that an external power adapter is well connected and secured to the mce
Box.
If you are using the mce Retail without the mce Box, connect the device to any one of the PC USB ports. It
is recommended to connect devices to the back of the computer, although mce will recognize devices
connected to any USB port.
Once the device is connected, the mce will automatically recognize the device; a pop-up will appear giving you instructions if there are any actions you need to take to prepare the device.
Common on-device operations:
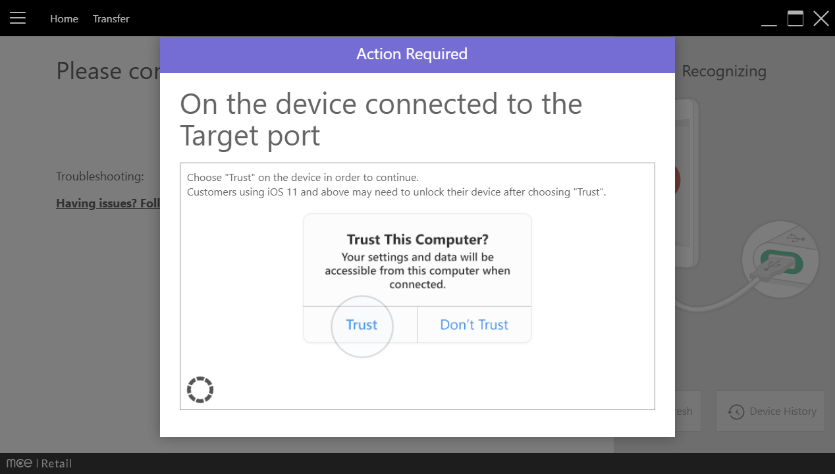
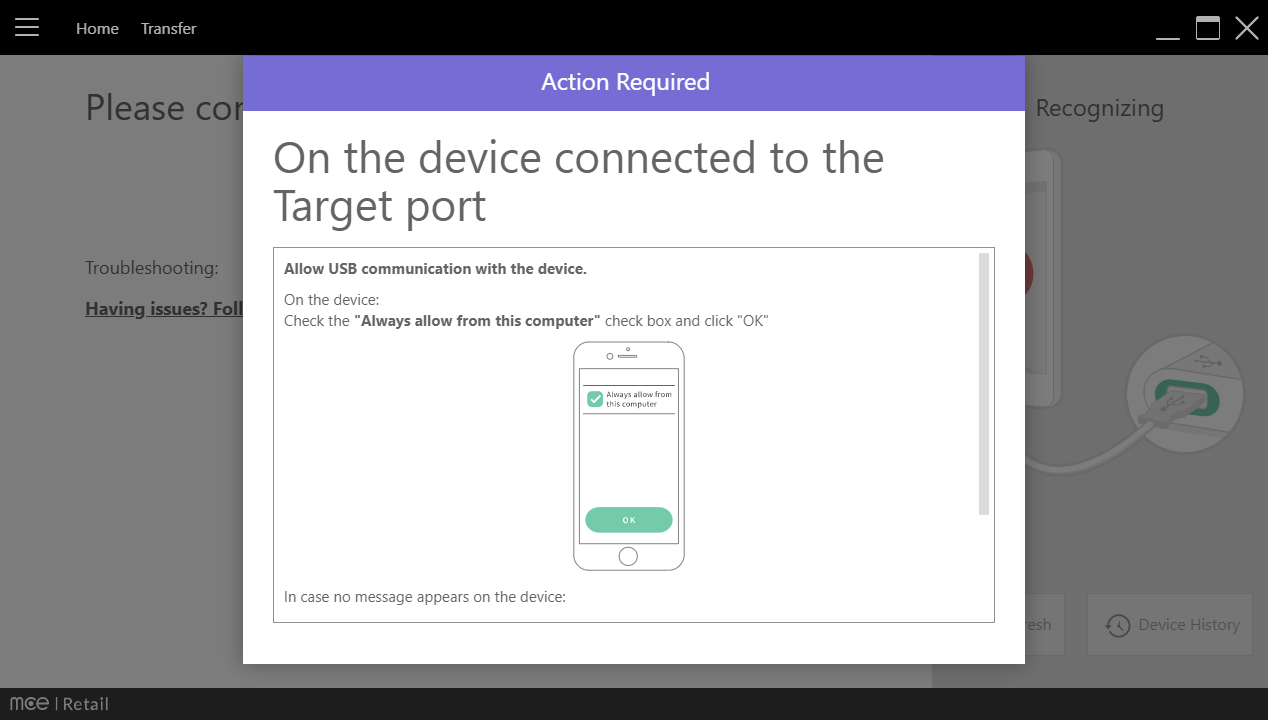
Trust the connection:
iOS, approve on the device
Android, check the “Always allow connection to this computer” and select “OK”.
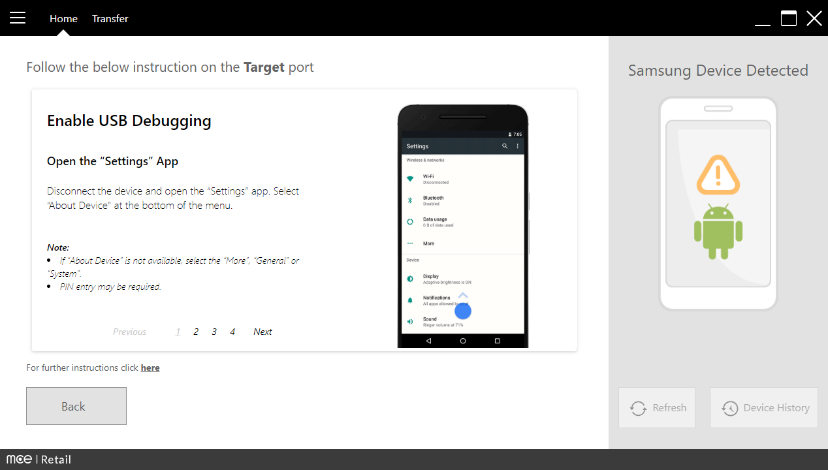
USB Debugging:
Android devices require the USB debugging option to be enabled in order to communicate with mce Retail. On screen instructions will guide you to enable this setting. It usually requires that you go to the settings menu, select “about device”, and press “about” 7 times to enable the “developer options” in the settings menu, and then locate and enable “USB debugging”. Don’t worry about turning it back off at the end – mce Retail app will do it for you when you are done.
Once the device is recognized, you can select and begin your desired operation.
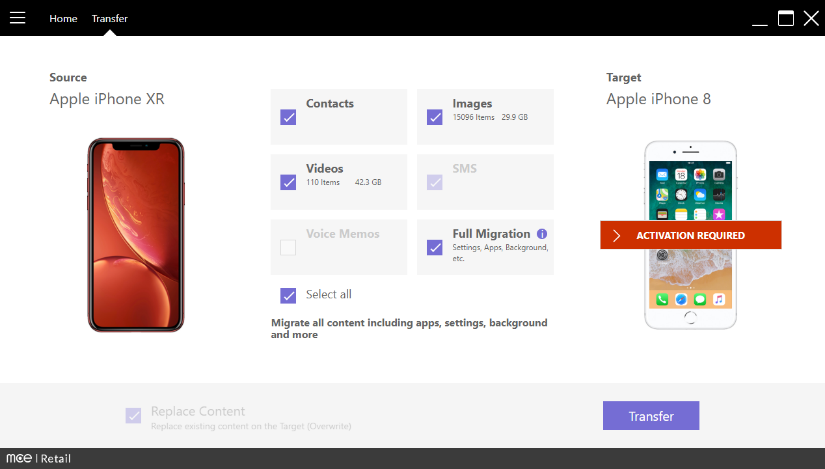
When performing a Transfer, simply connect the second device to the Source port.
If you are working without* the mce Box, simply connect it to another USB port and it will be recognized as the Source device.
* Remember that by default, the first device plugged in is the Target and the second device is the Source.
Comments
0 comments
Please sign in to leave a comment.